
How to Select the Best Trade Show Booth Displays for Maximum Brand Impact
A trade show gives you a few seconds per visitor. People walk the aisles, scan hundreds of booths, and make instant decisions about where to stop. Your booth display makes that decision for them before you say a word. The right trade show booth displays stop traffic, communicate your brand instantly, and give your team a professional stage to work from.
This guide explains how to select booth displays that deliver maximum brand impact. It covers the main display types, sizing, budgeting, portability, and the practical details experienced exhibitors wish they had known before their first show.
What Counts as a Trade Show Booth Display?
A booth display is any structure that presents your brand within your booth space. Most booths combine several pieces:
-
A backdrop or back wall, the large branded surface behind your team
-
Banner stands are vertical, self-standing graphic panels
-
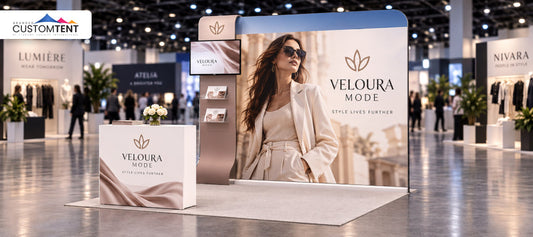
A branded table with a custom printed table cover
-
Tall custom feather flags that mark your location from across the hall
-
Counters, literature racks, and lighting as supporting elements
-
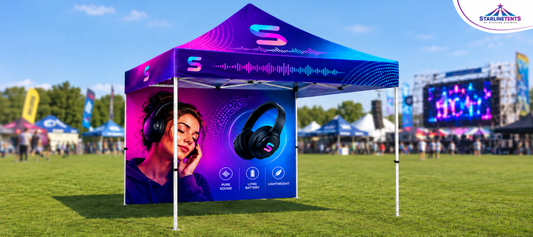
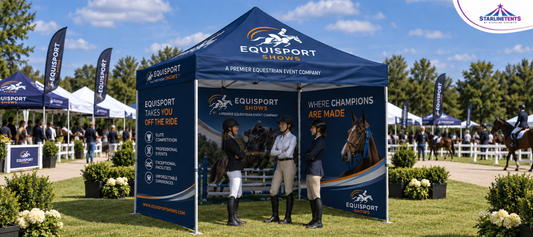
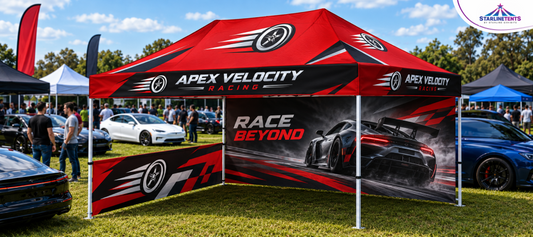
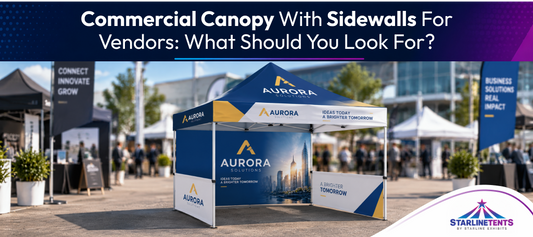
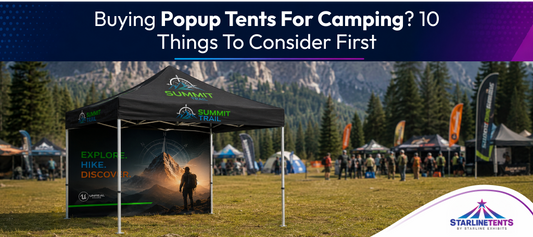
A canopy tent, for outdoor shows and hybrid events, such as a 10x10 custom printed tent
The goal is not to own every piece. The goal is to combine the right pieces for your booth size, your budget, and the way your team sells.
Start With Three Questions
Before comparing products, answer these. They narrow your options faster than any catalog.
1. What is your booth size? Most first-time exhibitors book a 10x10 space. That size fits one back wall, one table, and one or two accent pieces. A 10x20 space allows a larger backdrop, a seating or demo area, and multiple banner stands. Buying displays before confirming the booth size is the most common first-show mistake.
2. Who transports and sets up the display? If the answer is "one person with a car," portability rules every decision. If you ship displays between cities or use install crews, weight matters less and impact can lead.
3. How many shows per year? One show a year can justify a lighter, budget setup. Six shows a year justify investing in durable, modular pieces that assemble quickly and survive constant transport.
The Main Types of Trade Show Booth Displays
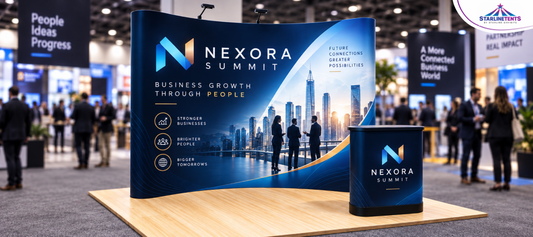
Tension fabric displays. A lightweight aluminum tube frame with a printed fabric graphic that pulls over it like a pillowcase. The result is a large, seamless, wrinkle-free back wall. Tension fabric is the modern standard for backdrops: it packs into a small bag, sets up in minutes, and the fabric is washable and replaceable. When your branding changes, you buy a new fabric print, not a new frame.
Pop-up displays
A collapsible accordion-style frame that expands into a full back wall with attached graphic panels. Pop-ups set up very quickly and create a solid, premium-looking wall. They are slightly heavier than tension fabric systems but remain a strong choice for frequent exhibitors.
Retractable (roll-up) banner stands
A printed banner that pulls up out of a weighted base, like a window blind in reverse. Banner stands are the workhorses of trade show marketing: affordable, light, and ready in under a minute. Use them to flank a backdrop, mark an entrance, or brand a small space on their own. Every exhibitor should own at least one.
Modular trade show displays
Systems built from interchangeable frames, panels, counters, and shelves. The same kit is configured as a 10x10 back wall at one show and expands into a 10x20 environment at the next. Modular systems cost more upfront but replace multiple single-purpose displays. They are the right choice for growing companies with a busy event calendar.
Portable displays and outdoor structures
For outdoor shows, markets, and festivals, a custom printed canopy tent acts as your entire booth including roof, walls, and branding in one structure. Many exhibitors use a complete trade show canopy package that bundles the tent, table cover, and flags into one coordinated, matching set.
Matching Displays to Booth Size
10x10 booth (the standard)
One 8ft or 10ft back wall (tension fabric or pop-up), one branded table at the front or side, and one retractable banner or feather flag at the aisle corner. Resist the urge to fill the space. Visitors need room to step in — a crowded 10x10 pushes people away.
10x20 booth
A 20ft backdrop or two 10ft walls, a demo or meeting area, a counter, and flags at both aisle corners. At this size, lighting and layout matter as much as the graphics.
Tabletop-only events
Many local expos and job fairs provide only a table. A fitted table cover plus one tabletop or retractable banner behind it delivers a complete, professional presence at minimal cost.
Design Rules for Maximum Brand Impact
Booth graphics are read from 10 to 30 feet away, by people in motion. Design for that.
-
Lead with one message
Your company name, and one line that says what you do or the problem you solve. Visitors decide whether to stop based on that line alone.
-
Make the text large
A practical rule: one inch of letter height per 10 feet of viewing distance. Body-copy-sized text on a backdrop is invisible from the aisle.
-
Place key content in the top half
The bottom third of any back wall is blocked by tables, chairs, and people.
-
Use bold color and high contrast
Exhibition halls are visually noisy. Strong brand colors and clean contrast cut through; pale, detailed designs vanish.
-
Keep every piece consistent
Backdrop, table cover, flags, and banners should share the same colors, logo treatment, and style. A coordinated booth reads as one confident brand. A mismatched booth reads as an afterthought.
Reputable suppliers, including Starline Tents, provide free artwork proofs and 3D visuals before printing, so you can see the complete booth as one picture before anything is produced. Use that step, it catches sizing and contrast problems while they are still free to fix.
Portability and Setup: The Details That Matter on Show Day
Experienced exhibitors judge displays by what happens at 7 a.m. on setup morning. Check these points before buying:
-
Tool-free assembly
Quality tension fabric and pop-up systems assemble by hand, with no tools and no loose hardware to lose.
-
One-person setup
A good 10ft back wall goes up in 10-15 minutes with one person. Ask the supplier directly, and watch a setup video before purchasing.
-
Weight and case size
Confirm the packed weight and whether the case fits in your vehicle. A display that needs freight shipping to every local event drains your budget quietly.
-
Wheeled carry cases
Convention center parking is never closed. Wheels are not a luxury.
-
Replaceable graphics
Frames last for years; messaging changes yearly. Systems with swappable prints protect your investment.
Budgeting: Where to Spend and Where to Save
A practical spending order for a first booth:
-
Spend on the back wall
It is the largest surface and the piece every visitor sees. A quality tension fabric backdrop is the core investment.
-
Spend on print quality
Dye-sublimation fabric printing keeps colors sharp show after show. Cheap printing looks cheap under convention lighting, and everyone can tell.
-
Save with a bundled package
Coordinated kits like tent or backdrop, table cover, and flags together cost meaningfully less than buying pieces separately, and everything matches.
-
Save on accessories at first
Counters, literature stands, and monitor mounts can be added show by show as you learn what your booth actually needs.
-
Do not save on the carry case
A broken frame in a flimsy bag costs far more than the sturdy case would have.
Common First-Show Mistakes to Avoid
-
Buying before confirming booth size and venue rules. Some venues limit display height or require flame-retardant certification for fabrics. Read the exhibitor manual first.
-
Overcrowding the space. More displays do not equal more impact. Open space invites visitors in.
-
Tiny text and long paragraphs on the backdrop. Details belong in your handout and your conversation, not on the wall.
-
No lighting plan. Two clip-on display lights lift a backdrop dramatically in a dim hall and cost very little.
-
First setup at the venue. Always do a complete practice setup at your office or home before the show. Every missing part and confusing step should be discovered there, not on the show floor.
Final Thoughts
The best trade show booth displays are the ones matched to your booth size, your team, and your event schedule, not simply the biggest ones in the catalog. Start with a quality back wall, a branded table cover, and a flag to mark your corner. Keep the design bold and simple. Choose portable, tool-free systems with replaceable graphics, and your display investment will serve you for years of shows.
Planning your booth? Starline Tents supplies complete trade show setups, custom canopy tents, table covers, feather flags, and display packages with free design service, free art proofs and 3D visuals, and fast shipping across the USA.
Frequently Asked Questions
How do I choose the best trade show booth displays?
Start with your booth size, your transport situation, and your number of shows per year. Then build around a quality back wall, tension fabric or pop-up supported by a branded table cover and a banner or flag. Choose tool-free, one-person-setup systems with replaceable graphics, confirm the venue's size and fire-safety rules, and keep the design to one bold message readable from 30 feet.
What are the best trade show booth displays for small businesses?
For a typical 10x10 booth on a modest budget: a tension fabric back wall, a custom printed table cover, and one retractable banner or feather flag. This three-piece setup looks complete and professional, packs into a car, and sets up with one person. Bundled packages that include a tent or backdrop, table cover, and flags together offer the best value for a first-time exhibitor.
What types of trade show booth displays are available?
The main categories are tension fabric displays (lightweight frames with seamless fabric graphics), pop-up displays (collapsible frames with attached panels), retractable banner stands, modular display systems (reconfigurable kits that scale between booth sizes), and portable outdoor structures such as custom printed canopy tents. Most booths combine two or three of these rather than relying on one.
Are portable trade show booth displays easy to set up? Can one person do it?
Yes, if you choose the right systems. This is one of the most asked questions in exhibitor communities, and the honest answer is that quality matters. A good tension fabric back wall or pop-up assembles tool-free in 10-15 minutes with one person, and a retractable banner takes under a minute. Watch a setup video before buying, and always do a full practice setup before your first show.
How can trade show booth displays increase brand visibility?
Displays work at three distances. Flags and tall structures mark your location from across the hall. The back wall communicates who you are and what you do from the aisle. The table cover and counters carry your branding into the conversation distance, and into every photo taken at your booth. A coordinated set matching colors and logo treatment across every piece multiplies the effect, because visitors see one strong brand instead of scattered parts.
What size trade show booth display should I choose?
Match the display to the booth, not the other way around. For a 10x10 booth, an 8ft or 10ft back wall plus a 6ft table is the proven layout. For a 10x20 booth, use a 20ft backdrop or two 10ft walls with a demo area. Also check the exhibitor manual for height limits, some venues cap displays at 8 feet in standard booths.
How much do trade show booth displays cost?
Entry points are lower than most first-time exhibitors expect. Retractable banners and printed table covers sit at the affordable end, a quality tension fabric back wall is a mid-range investment, and modular multi-configuration systems cost the most. Bundled packages reduce the total meaningfully. As a rule, put the largest share of the budget into the back wall and the print quality, and add accessories over time.
What features should I look for in a trade show booth display?
Tool-free assembly, one-person setup, light packed weight, a wheeled carry case, dye-sublimation fabric printing, replaceable graphics, and flame-retardant certified materials. Replaceable graphics deserve special attention: frames last years while messaging changes often, so a system that accepts new prints protects the whole investment.
Do I need lighting for my booth display?
It is one of the most underrated upgrades, and experienced exhibitors mention it constantly. Convention halls are unevenly lit, and a well-lit backdrop stands out sharply against dim neighbors. Two clip-on LED display lights are inexpensive, weigh little, and make graphics noticeably more vivid. Check whether your booth package includes electrical access before the show.
Where can I buy high-quality trade show booth displays?
Choose a supplier that offers dye-sublimation printing, free artwork proofs, coordinated product lines, and clear turnaround times, so every piece of your booth matches. Starline Tents supplies custom trade show setups canopy tents, table covers, feather flags, and display packages with free design assistance, 3D visuals before printing, and fast shipping across the USA.
Tags:
Previous
The Complete Guide to Custom Event Signage for Trade Shows and Outdoor Promotions
Next
Custom Canopy Tent Packages Explained: Which Bundle Offers the Best Value?